

When I was little, my grandmother made me a hand-stitched quilt with a silk panel and a blanket foldover hem. I remember the quilt to this day, even though its no longer with me, because being all grown up now, I realize just how much work it took her to make it.
The silk panel on the front always felt soft and cool to the touch, perfect for the hot humid nights where I grew up. The back panel was made of a scratchy synthetic fabric, which chaffed and irritated my skin.
I remember being conflicted about whether to sleep with the silk panel right side up, which was the pretty and proper side, but which left me struggling under the scratchy side. Or to forgo looking at the pretty pattern and sleep with it side down next to my skin, letting the dull side face the world.
I don't know why I bothered to struggle with this trivial decision every night because it seems like such a odd thing for a child to obsess about. But I suppose I was that kind of a child. I wanted things to look good and feel good at the same time.
Now decades since receiving my grandmother's quilt, I set about making my first one for my baby boy, Eliot.
I'm not a quilter, and have indeed, not made one before. However, I knew I wanted it to i) it look good and also feel good next to his skin, and ii) be mostly handsewn and iii) be made from material that he will cherish as much as I did that silk panel on the quilt from my grandmother.
Slowly, I had been saving up particular pieces of out-grown baby clothes from both my kids, thinking that I will harvest the material someday to make new things. And this well-worn and well-loved fleece pull-over from Eden was the perfect piece to use for Eliot's quilt. It had blue circles, which is just the kind of simple motif that little ones can appreciate. And it was cuddly and soft.

I first cut out all the blue circles, and then realizing that there were too few, I traced circles onto the remaining green fleece and cut out as many as I could. The key is to use up all the material if you can - some of my favorite circles have seams in them from pockets, armholes etc, which just makes them more interesting.
Next, pin the circles on to the top panel of your quilt. I used a soft blue fleece and I arranged the circles in a free-flowing pattern, concentrating them on one edge and letting them "fade" out towards the opposite edge. Alternate between the blue and green ones in a random pattern. Placing some along the edge also makes a more dynamic composition. Just trim the ones that hang over the border so you're left with some partial circles.

Using 3 strands of embroidery floss, stitch around each circle with a straight (running) stitch. Knot off after each circle and start the next one with a fresh knot. It took many nights in the company of the late night news to finish this step.
Next, I made my quilt sandwich with needled cotton batting
 and a back panel of the same fleece. There are many great instructions about how to do this on other blogs - I don't know if I did it the right way. But I just put my top panel with the circles directly on top of the batting material and cut around it. I did the same with the back panel.
To make the quilt sandwich, I placed the batting on top of the back panel, and the top panel of circles on top of the batting. Then I made long continuous lines of pins from one edge to the other, around the circles.
These pin lines mark the position of the quilting lines I will later stitch on the machine. There is no order to the lines since I was going for a free-flowing effect. I think of the lines as eddies of current moving around circular stones. This is what it looked like after pinning.

Machine stitch along the pinned lines, removing the pins as you go. Don't sweat it if you don't follow the pins exactly. I improvised as I went along, making sure that they were evenly distributed and all the edges had sufficient lines of stitching so that the batting is secure. I love the finished effect of the quilted lines flowing around the circles.

The final step is to bind the quilt. I used pre-made quilt binding
 , machine stitched it on one side and slip stitched it on the back side. There are good instructions on the Purlbee blog here. (Coincidentally, Purlbee put up a post today about a Circular Applique Mini Quilt using their Liberty of London Tana Lawn fabrics.)
Here's my first quilt all done! I am one proud mama.
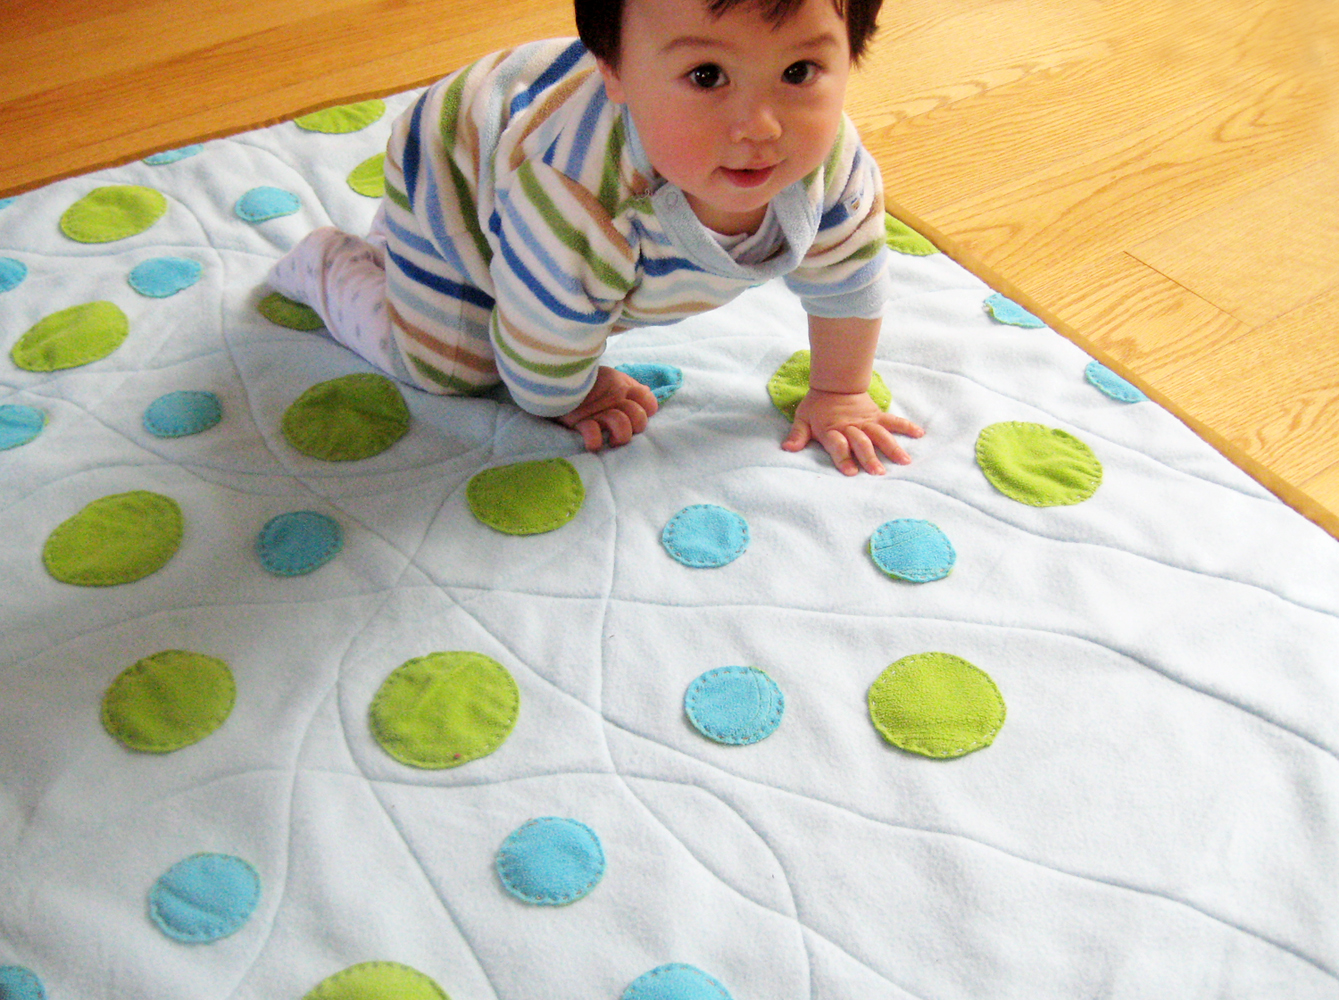
And here's Eliot romping on his new quilt!


